
ECA: Easy Membership App — Basic Setup Guide
Welcome to ECA: Easy Membership App! Follow these steps to set up memberships, restrict access, and offer exclusive benefits to your customers.
1. Install & Open the App
- Install ECA: Easy Membership App from the Shopify App Store
- Open the app from your Shopify Admin
- You’ll land on the Dashboard
2. Create a Membership Plan
Membership plans define what your members get access to.
Steps:
- Go to Memberships → Plans
- Click Create New Plan
- Enter:
- Plan name (e.g., VIP, Gold, Pro)
- Price (monthly, yearly, or custom)
- Benefits description
- Automatic renewal is enabled by default
- Click Save
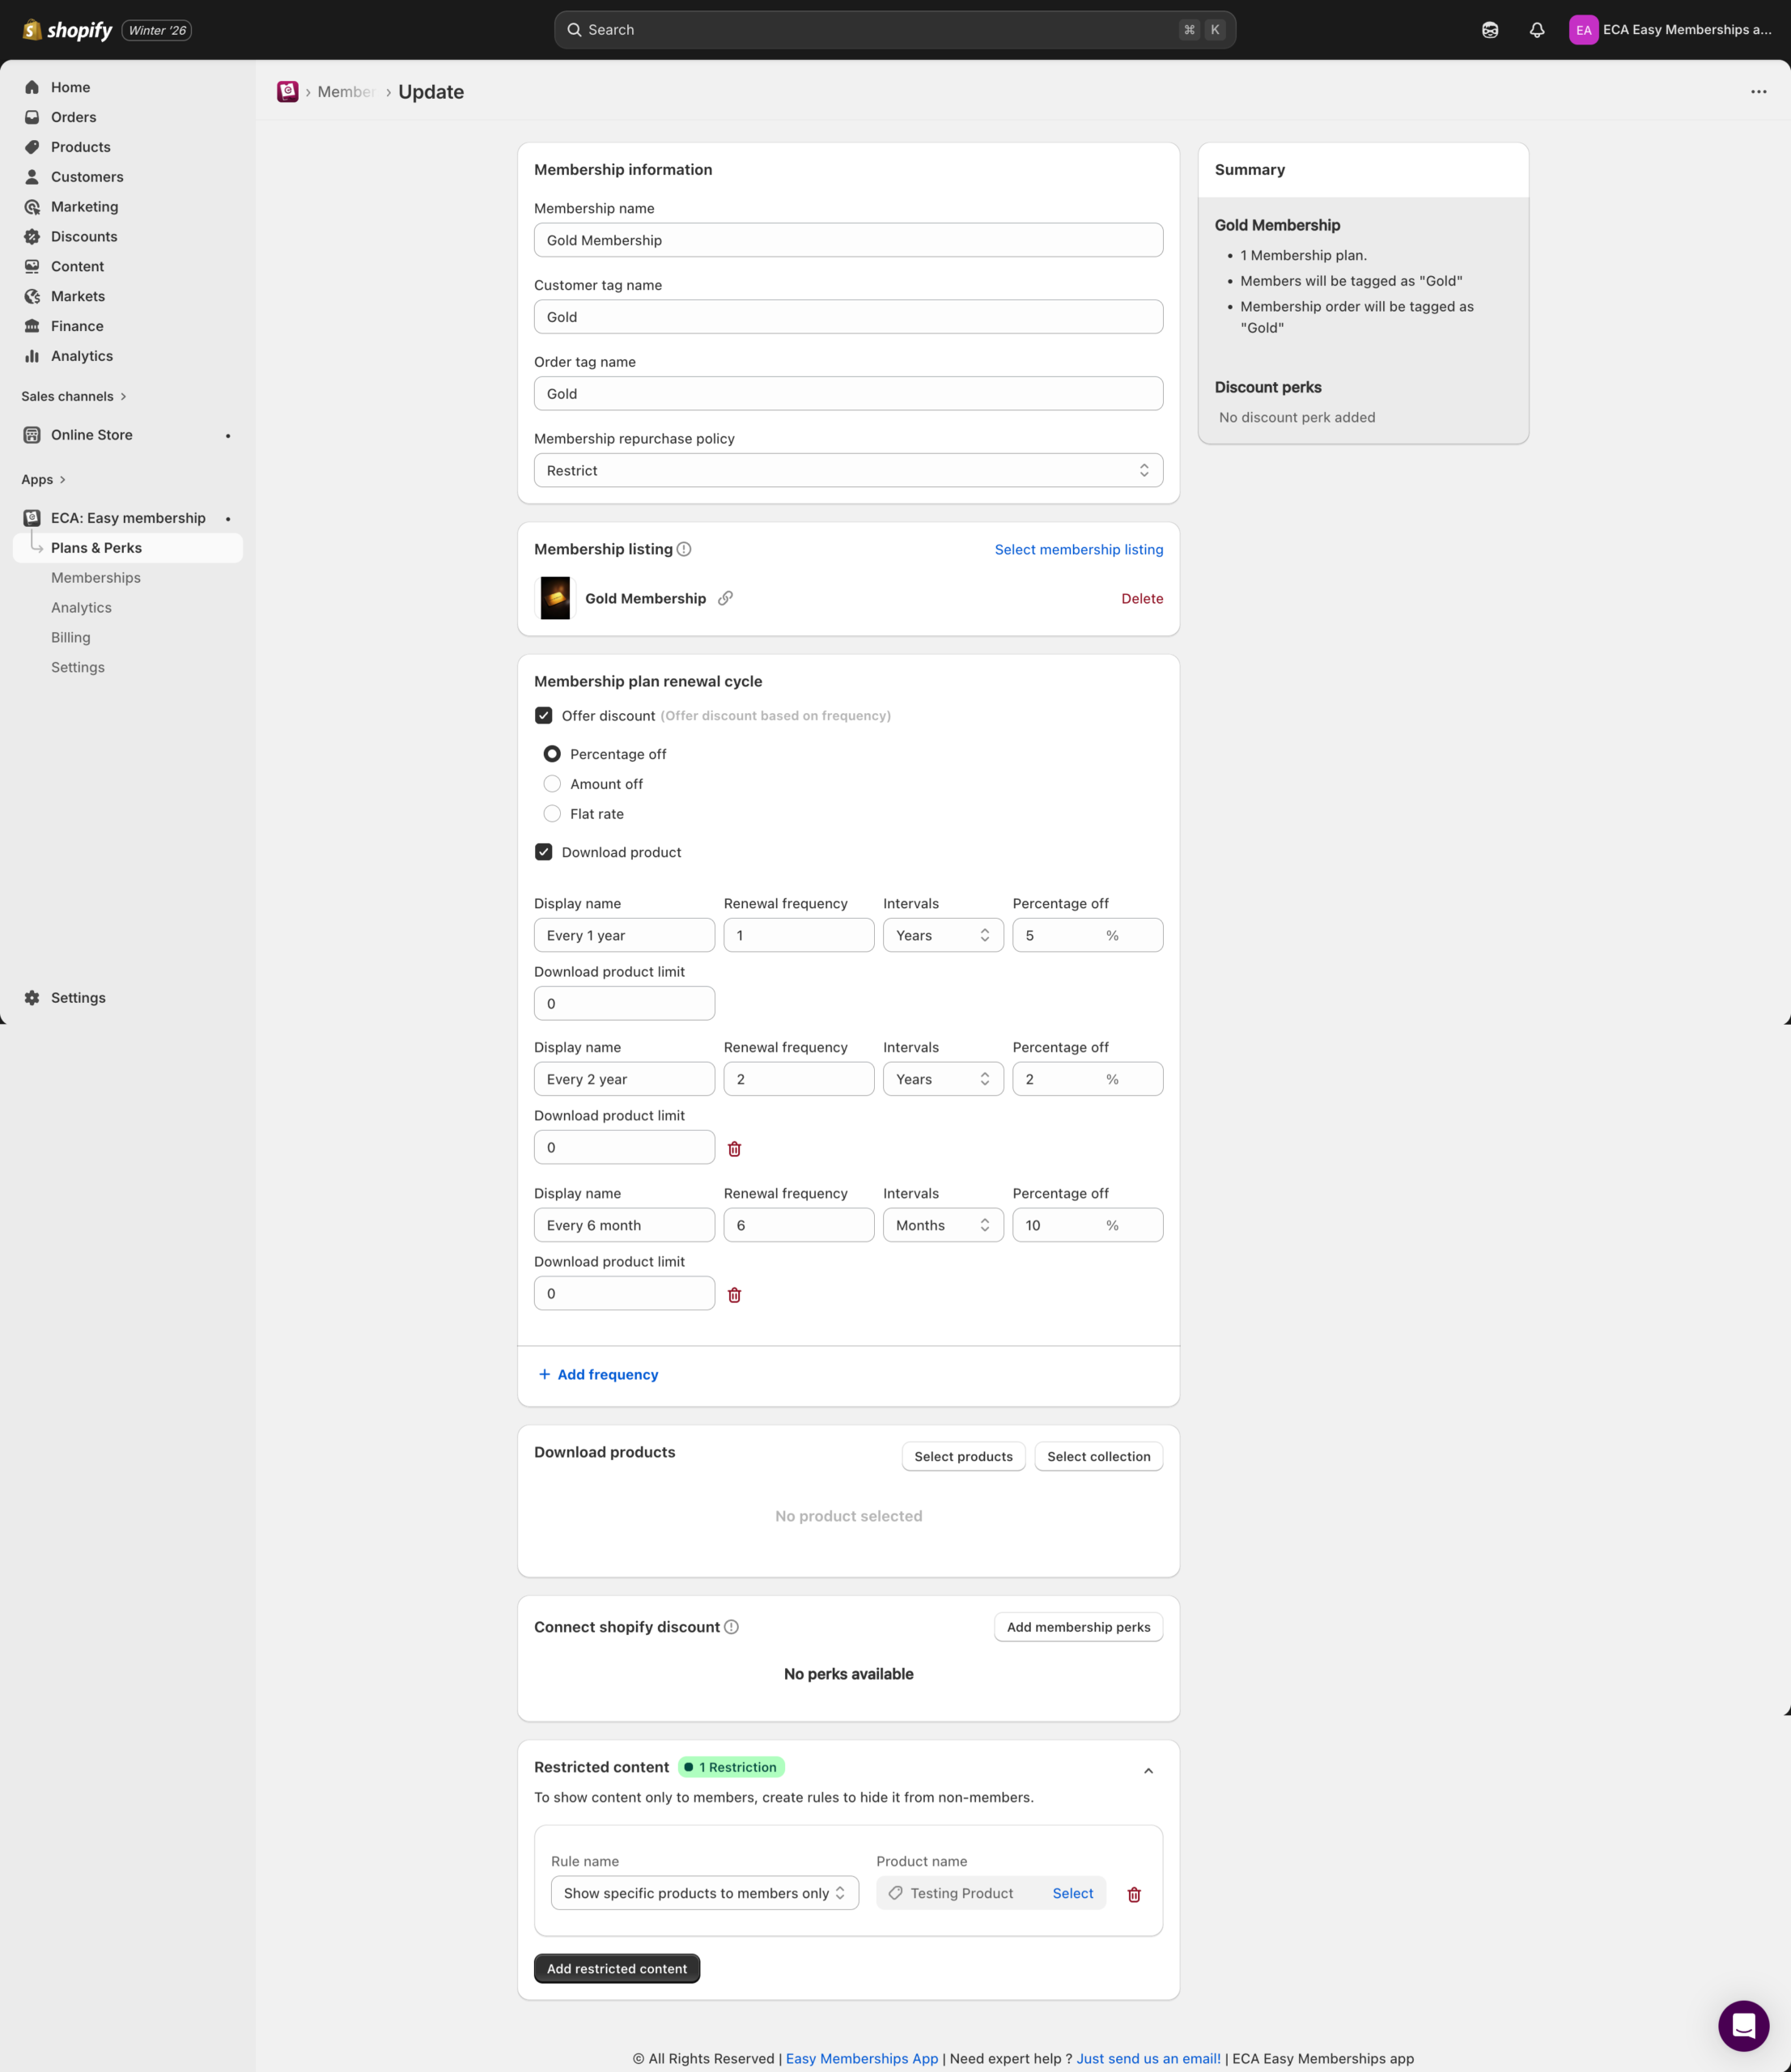
3. Restrict Products & Collections
Control which products or collections are available only to members.
Steps:
- Go to Access Rules
- Select a Product, Collection, or Page
- Choose the membership plan allowed to access it
- Click Save
Non-members will see a Members Only message on restricted items.
4. Add Member Benefits (Downloads & Perks)
Digital Downloads
- Go to Plans & Perks → Download Products
- Select specific products
- Paste link of the files from Shopify’s Content tab or Digital Downloads app available on Shopify app store (PDFs, videos, Images).
- Click Save

Discounts & Perks
- Go to Plans & Perks → Discounts
- Add member-only discounts or perks
- Save changes
Members will receive these benefits automatically.
5. Configure Member Emails
ECA Membership App includes ready-to-use email templates.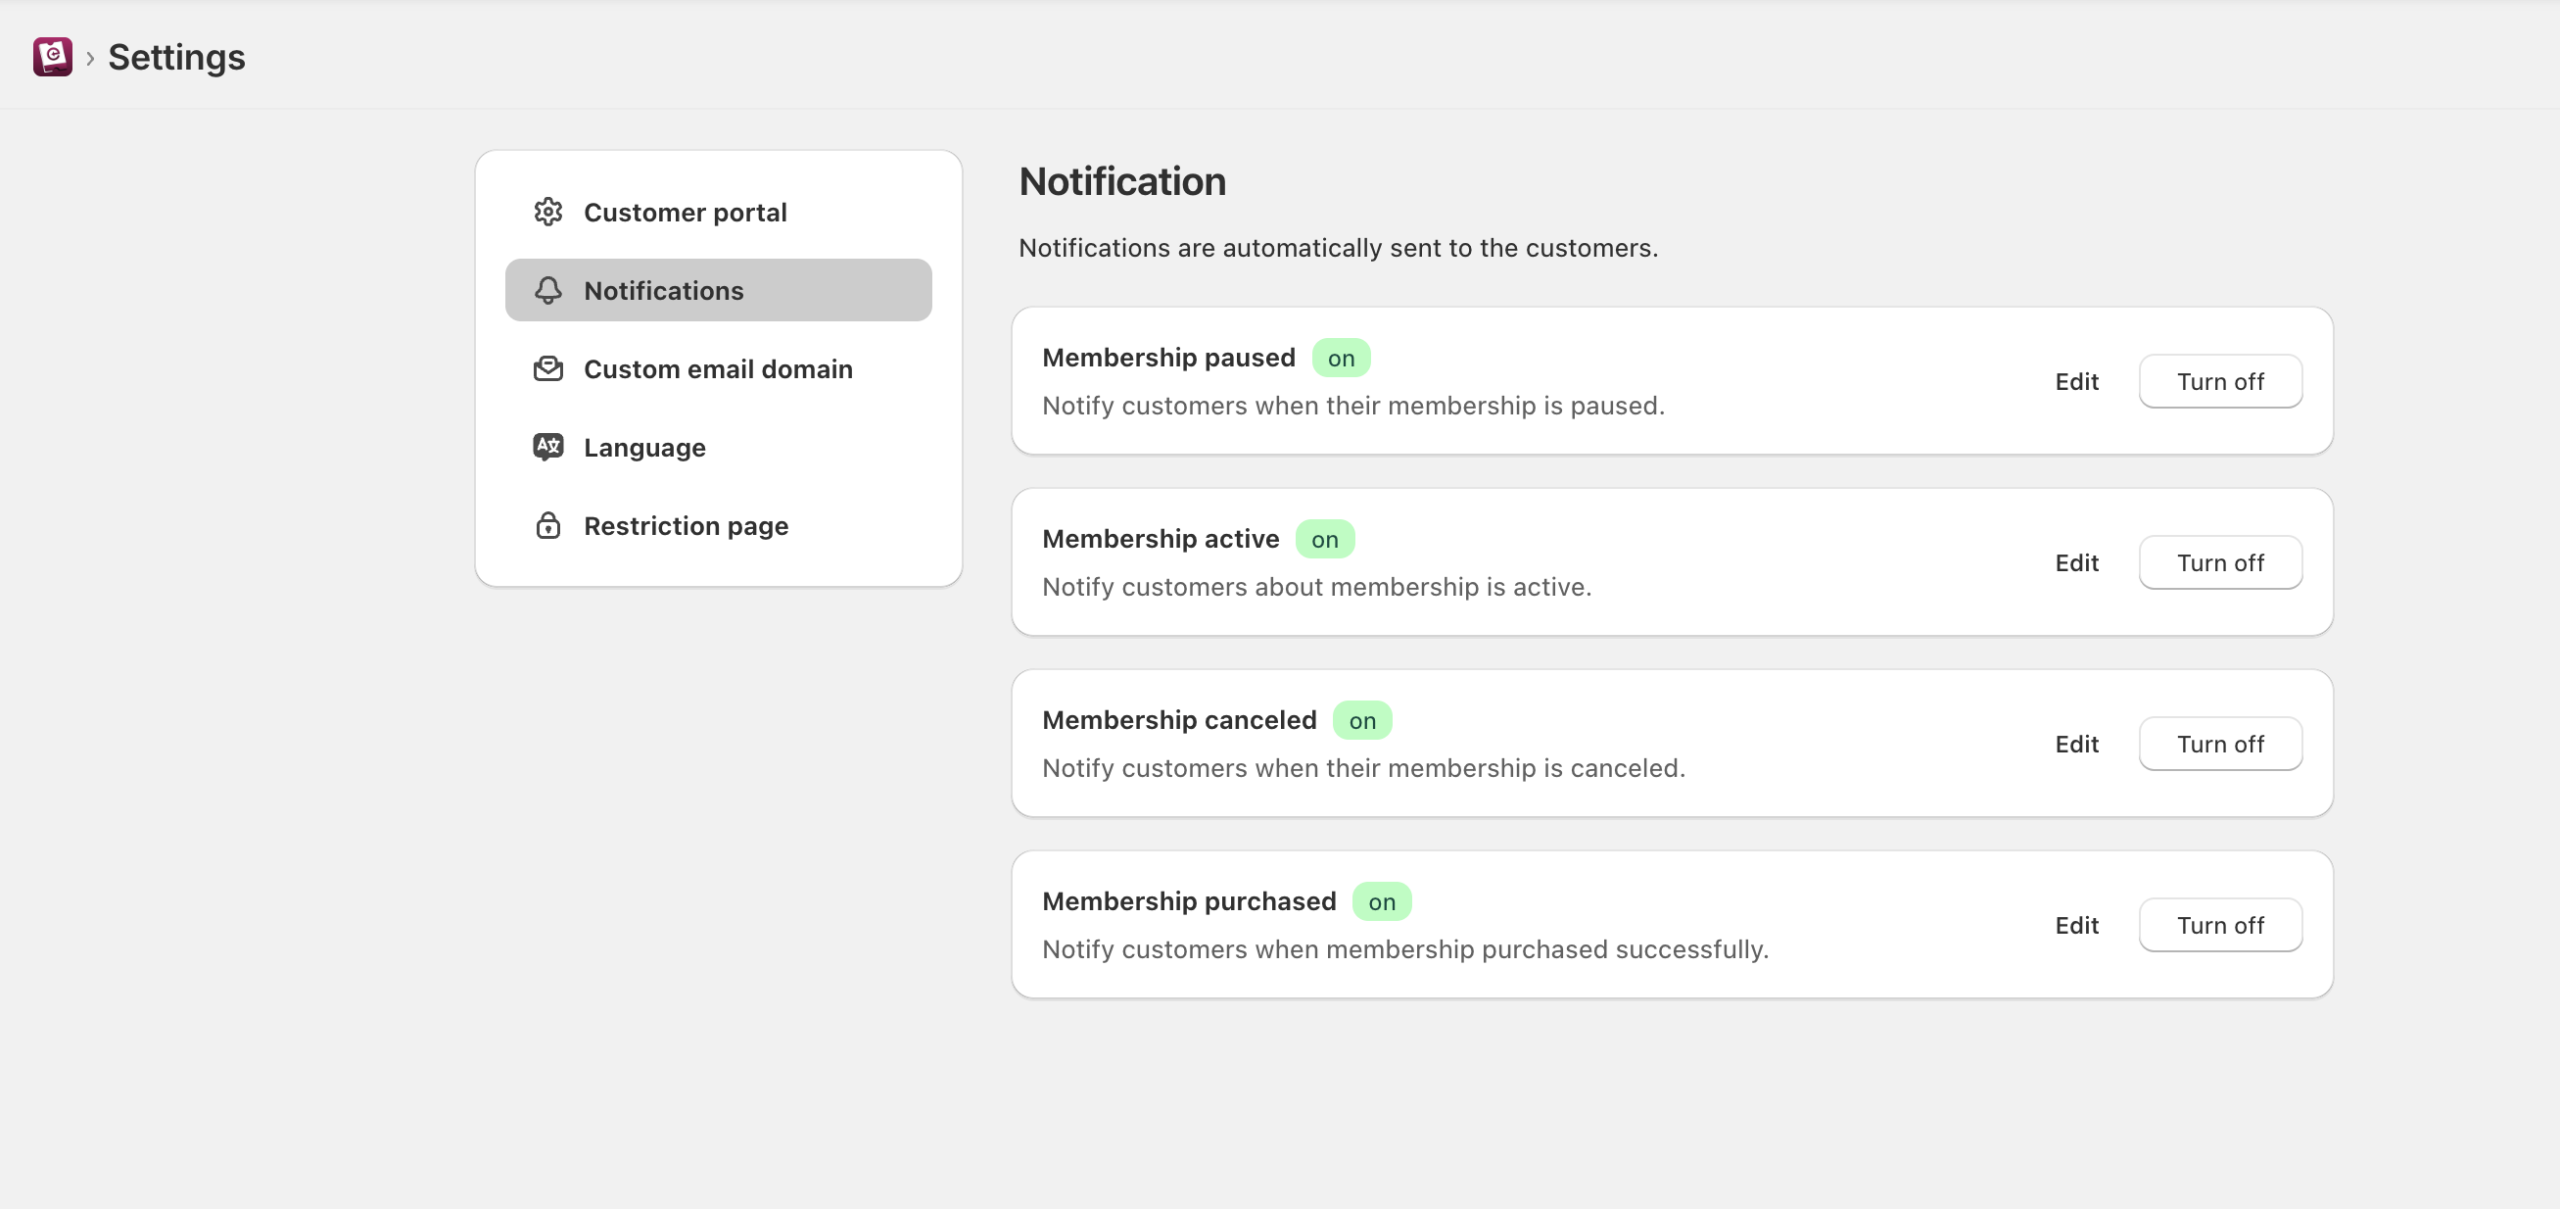
Steps:
- Go to Emails → Templates
- Review predefined templates (welcome, renewal, cancellation)
- Customize subject and content if needed
- Save
Custom Email Domain (Optional)
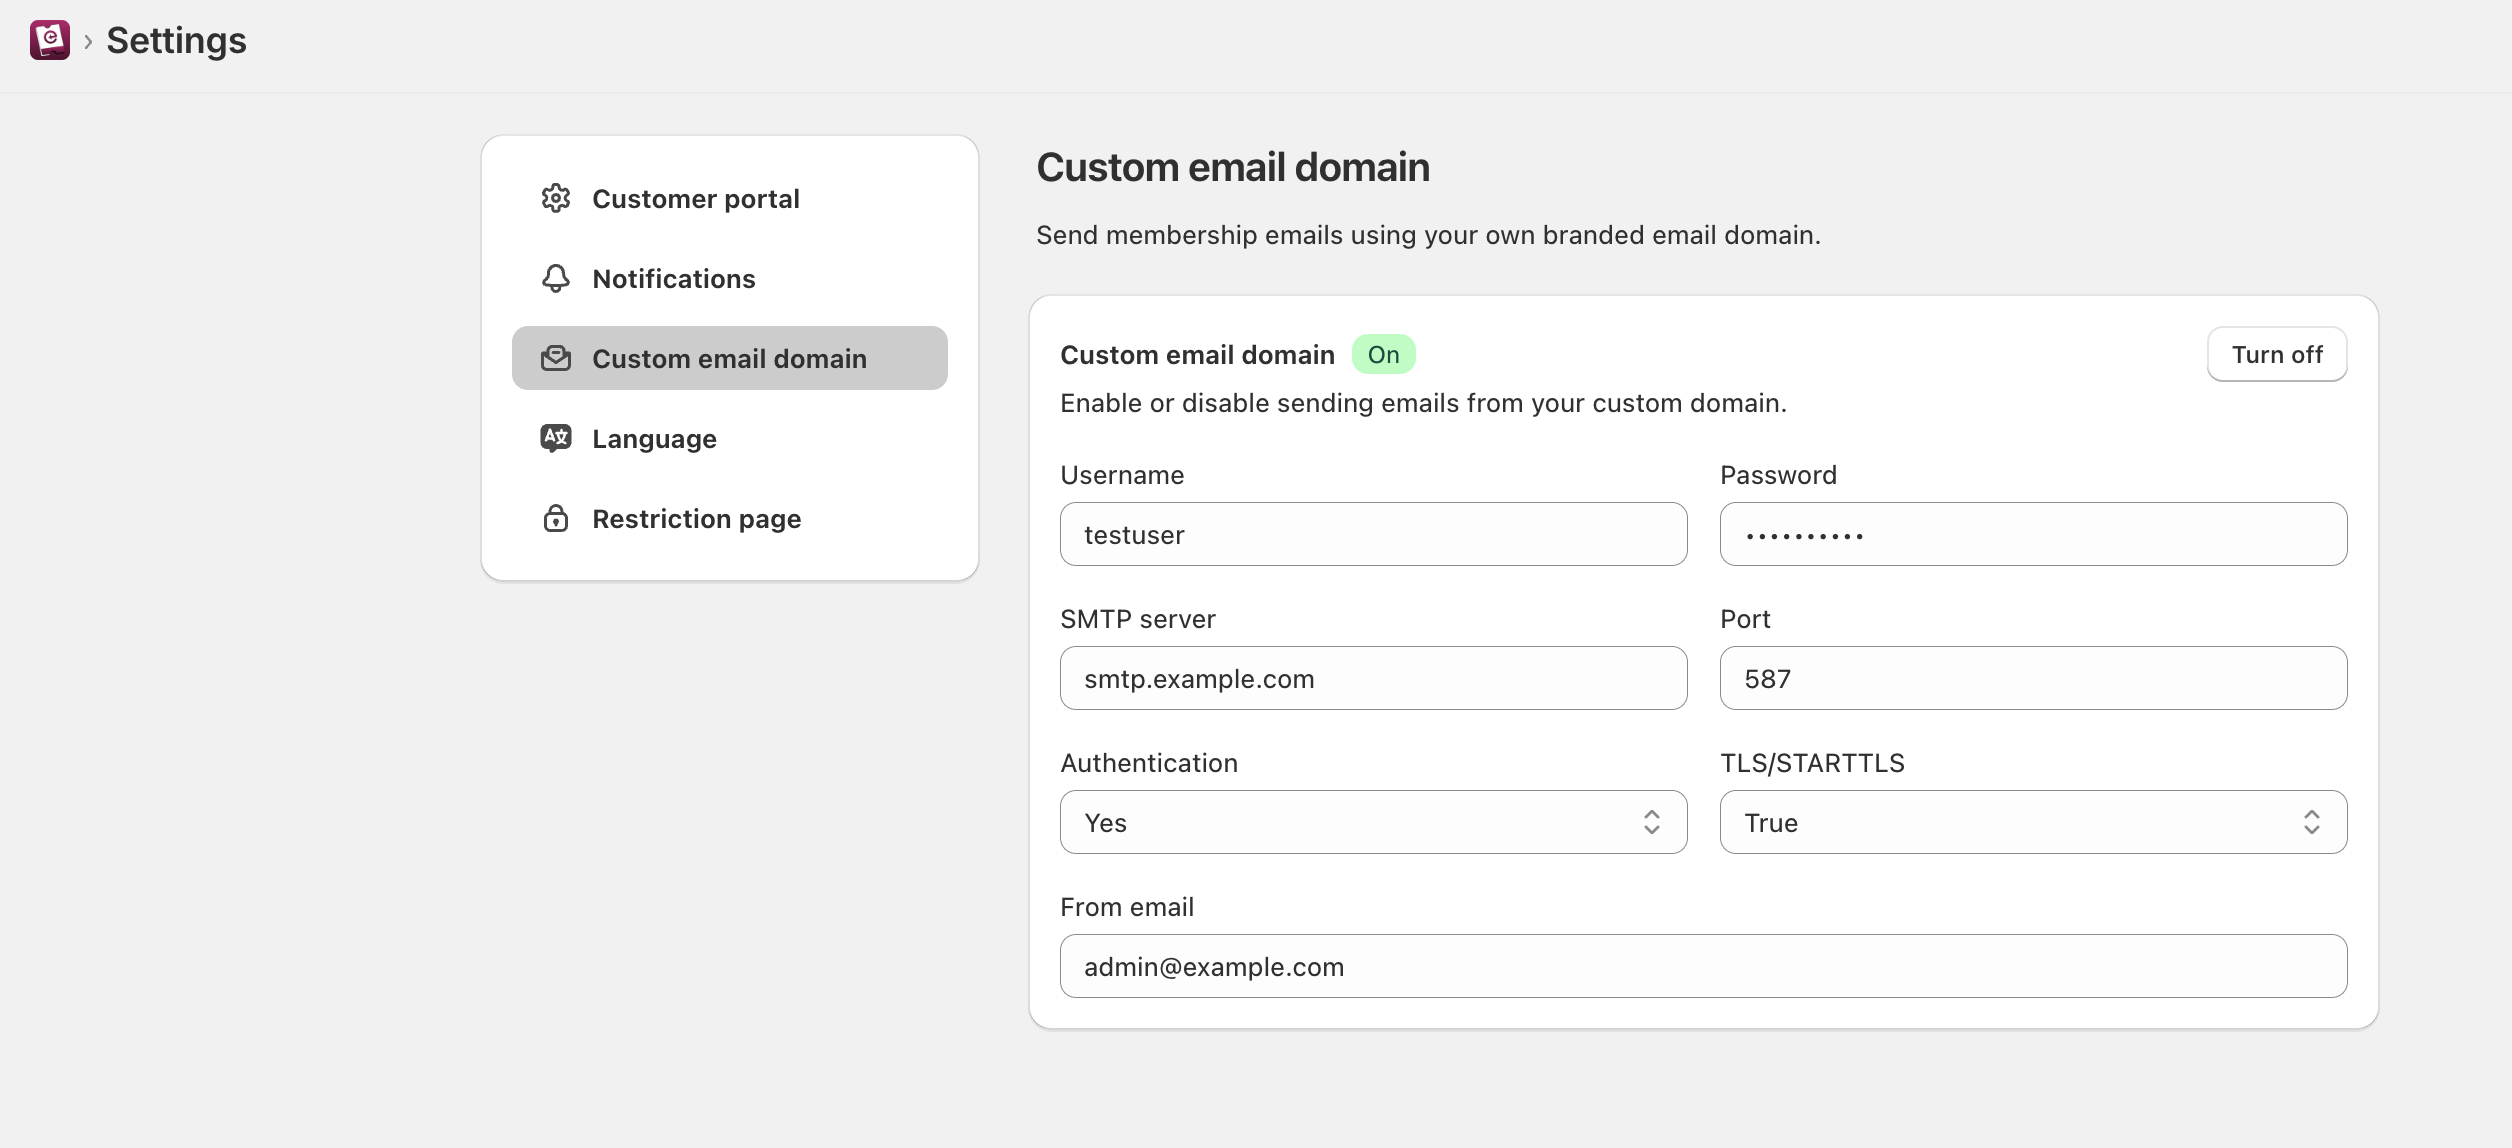
- Go to Settings → Email Domain
- Set your branded sender email (e.g., hello@yourstore.com)
6. Enable Passwordless Login
Make it easy for members to access their account.
Steps:
- Go to Settings → Authentication
- Enable Passwordless Login
Members will log in using a secure email link—no password required.
7. Membership Portal Experience
Customer Portal
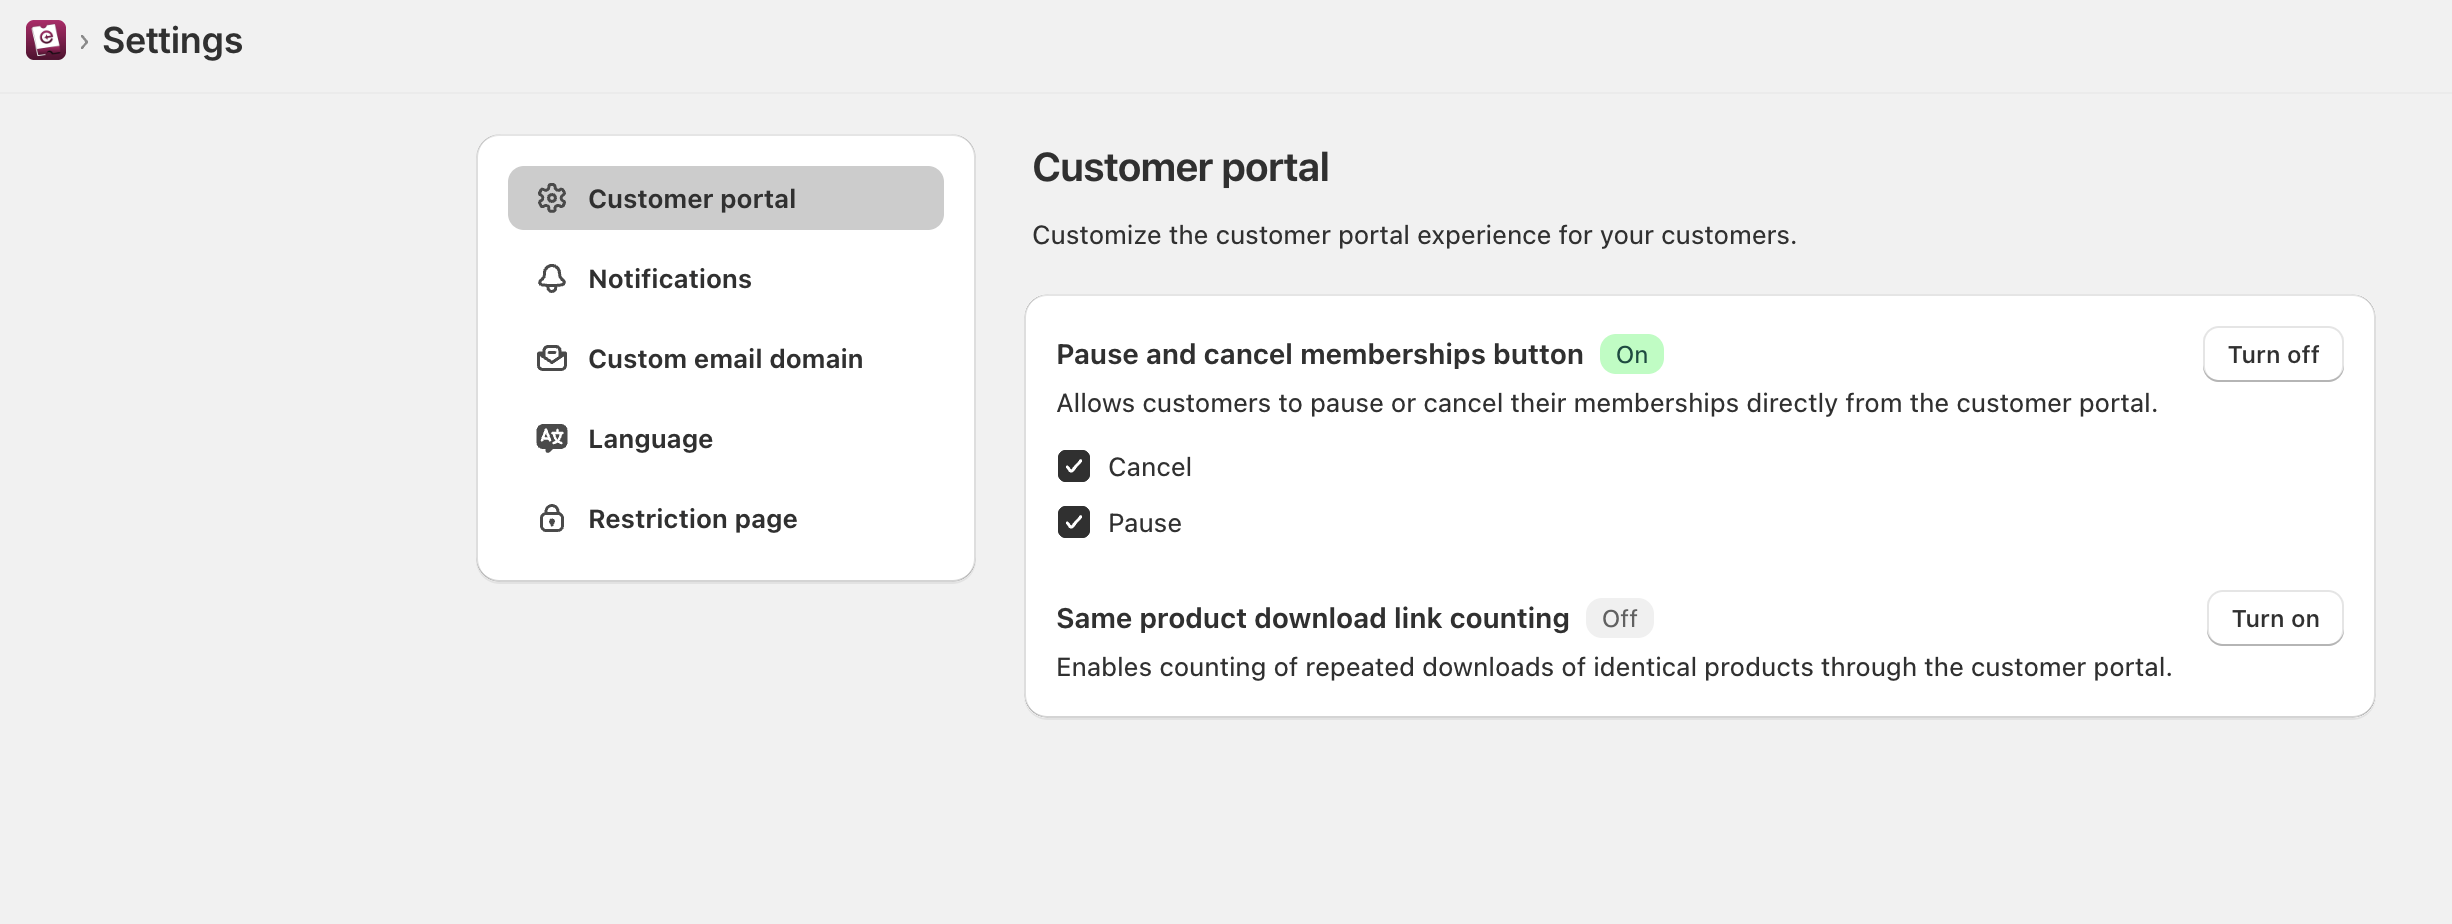
Members can:
- View their membership status
- Access exclusive products and downloads
- Manage or cancel their membership (if enabled)
Merchant Portal
From the dashboard, you can:
- View all members
- Upgrade or downgrade plans
- Cancel memberships
- Add members manually
8. Configure Cancellation Rules
Control how cancellations are handled.
Steps:
- Go to Settings → Cancellation
- Choose:
- Customer-initiated cancellation
- Admin-only cancellation
- Decide when access ends (immediately or end of billing cycle)
9. Track Performance
Go to Dashboard → Analytics to view:
- Active members
- New signups
- Cancellations
- Membership revenue
These insights help you optimize your membership strategy.
10. Customize Language & Labels
Tailor the customer-facing text to your brand.
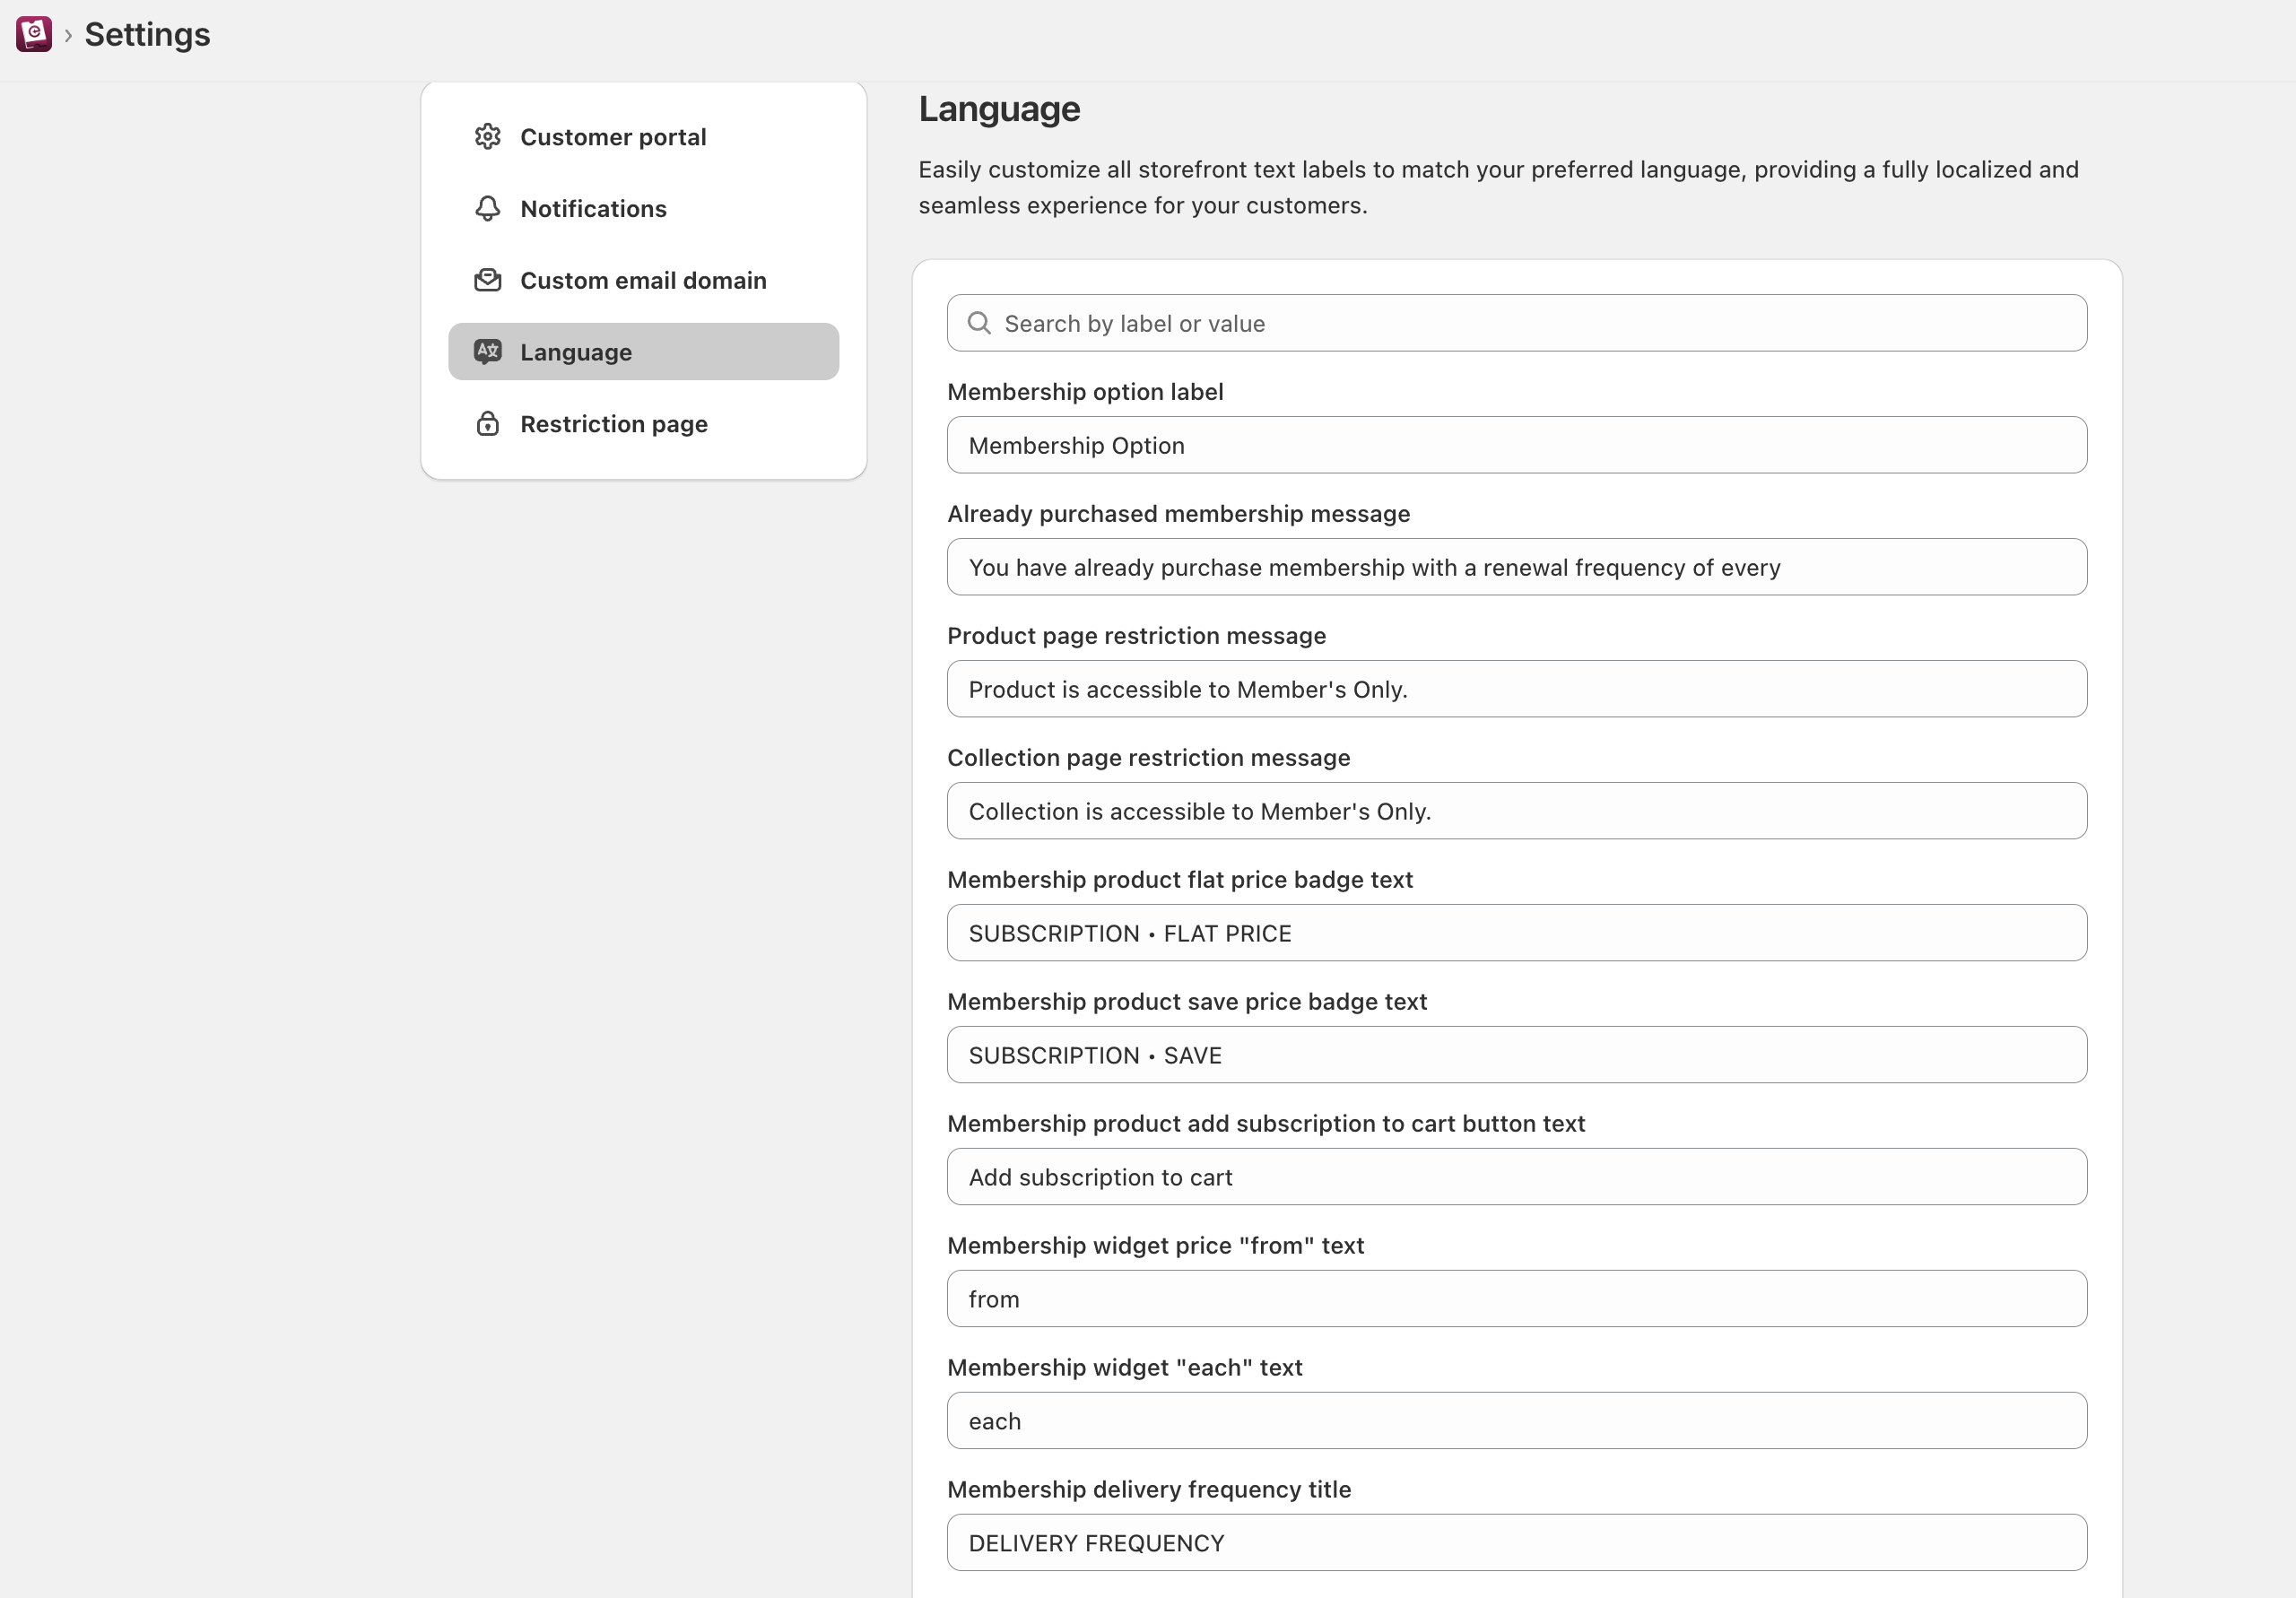
Steps:
- Go to Settings → Language Labels
- Customize buttons, messages, and portal text
- Save changes
11. Customer & Order Tags
The app automatically adds tags such as:
- Customer tags: member, vip-plan
- Order tags: membership-signup, renewal
You can use these for:
- Shopify automations
- Customer segmentation
- Reporting
12. Need Help? We’re Here
You can always book a setup call with our team: 👉 Schedule Support Session: